Melt and pour soap making is a fun and creative hobby that allows you to create unique and personalized soaps. One of the most exciting aspects of soap making is adding color to your melt and pour soap base. With a wide range of colorants and techniques available, you can create endless possibilities for your soap designs. In this blog, we'll share some tips and best practices for adding color to your melt and pour soap base.

- Choose Your Colorant
There are many types of colorants available for melt and pour soap making, including liquid dyes, powder pigments, and natural colorants such as clays and herbs. Liquid dyes are the most popular choice because they are easy to use and produce vibrant colors. Powder pigments and natural colorants require a bit more experimentation and practice to get the desired effect.
- Use a Dropper or Pipette
When adding liquid dye to your melt and pour soap base, it's important to use a dropper or pipette to control the amount of colorant you add. Start with a small amount and add more as needed to achieve your desired color.
- Mix Thoroughly
After adding the colorant, mix the soap base thoroughly to ensure that the color is evenly distributed. You can use a whisk or fork to mix the soap base, being careful not to create too many bubbles.
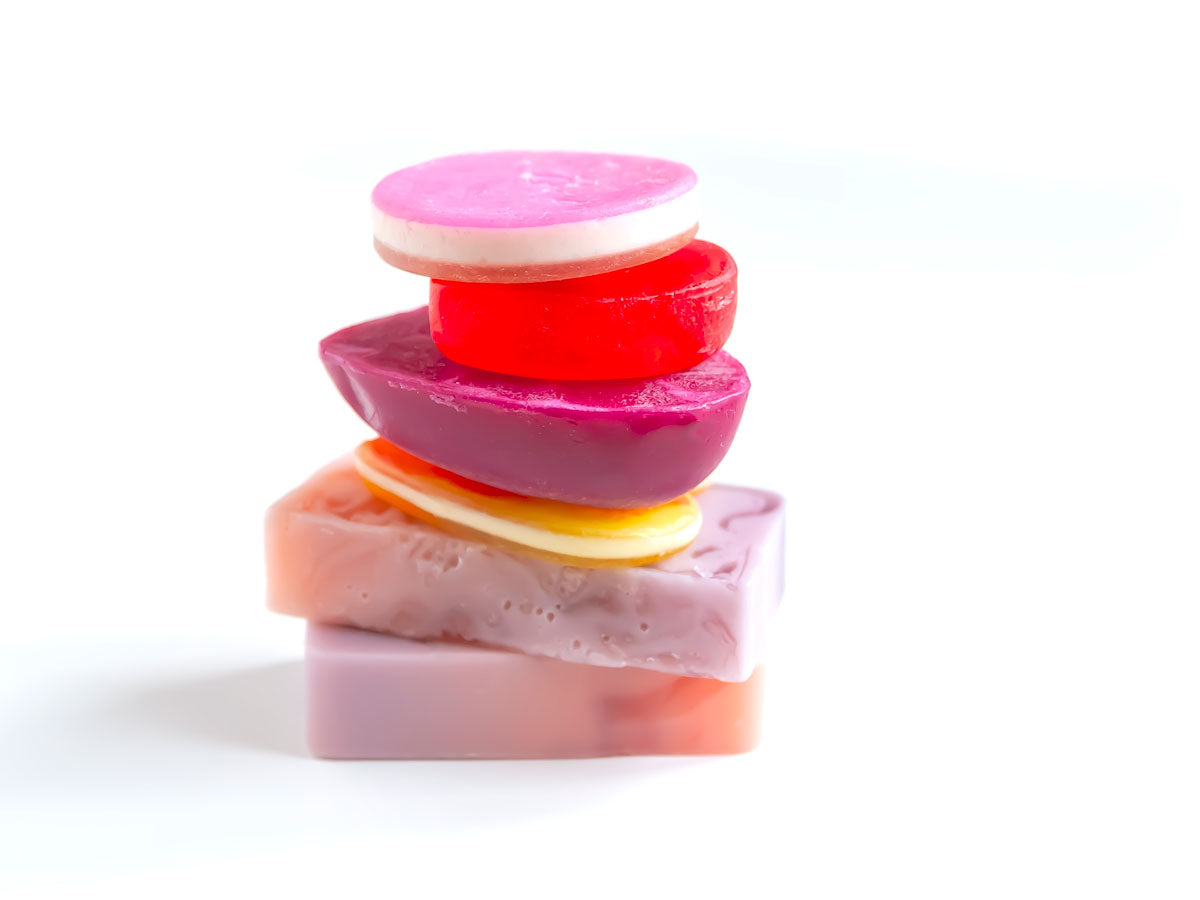
- Layering Techniques

One of the most popular techniques for adding color to melt and pour soap base is layering. This involves pouring different colored soap bases into the same mold, one layer at a time. To create a layered effect, wait for each layer to cool and harden before adding the next layer.
- Swirling Techniques

Swirling is another popular technique for adding color to melt and pour soap base. To create a swirl effect, pour two or more different colored soap bases into the same mold at the same time. Use a skewer or toothpick to swirl the colors together in a random or patterned design.
- Natural Colorants

If you prefer to use natural colorants in your soap making, there are many options available. For example, adding ground coffee to your soap base can create a brown color, while adding spirulina powder can create a green color.
- Experiment and Have Fun
The most important tip for adding color to your melt and pour soap base is to experiment and have fun! Try different colorants, techniques, and designs to create unique and personalized soaps. Don't be afraid to make mistakes – that's all part of the learning process.
Conclusion
Adding color to your melt and pour soap base is a fun and creative way to personalize your soap making. Whether you choose to use liquid dyes, powder pigments, natural colorants, or a combination of these, there are many techniques and best practices to follow to achieve your desired effect. By using a dropper or pipette, mixing thoroughly, using layering or swirling techniques, and experimenting with different colorants and designs, you can create stunning soaps that are both beautiful and functional. So, grab your soap making supplies and let your creativity shine!