Melt and pour soap making is a fun and creative hobby that allows you to create beautiful, handmade soaps with ease. However, molding melt and pour soap base can be a bit tricky, especially for beginners. In this blog, we'll share some tips and tricks for successfully molding melt and pour soap base.
- Choose the Right Mold
Choosing the right mold is crucial for successfully molding melt and pour soap base. Make sure your mold is suitable for use with soap, and that it is the right size and shape for your project. Silicone molds are a popular choice for soap making because they are flexible and easy to remove the soap from.
- Prepare Your Mold
Before pouring your melt and pour soap base into the mold, make sure it is clean and dry. If you're using a silicone mold, you can lightly spray it with rubbing alcohol to help release the soap later.
- Cut Your Soap Base into Small Pieces

Cutting your melt and pour soap base into small pieces will help it melt more evenly and prevent burning. Aim for pieces that are about the size of a sugar cube.
- Melt the Soap Base Slowly
When melting your soap base, be sure to do it slowly and carefully. Overheating the soap base can cause it to burn or become discolored. You can melt the soap base using a double boiler or in the microwave, but be sure to stir it frequently to prevent hot spots.
- Add Color and Fragrance

If you want to add color or fragrance to your soap, do so after the soap base has melted. Add a few drops of color and fragrance oil to the melted soap and stir well.
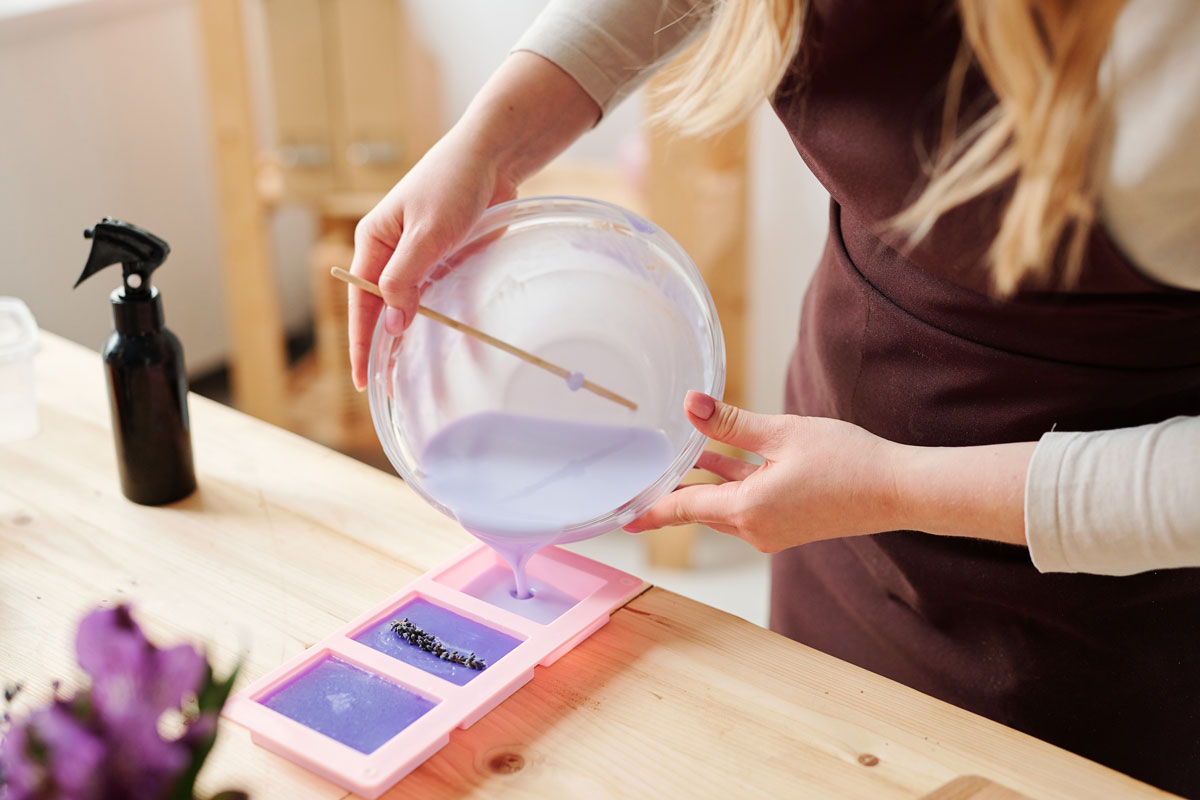
- Pour Carefully
When pouring the melted soap base into the mold, do so slowly and carefully to avoid creating air bubbles. Gently tap the mold on a flat surface to help release any air bubbles that do form.
- Let the Soap Cool and Harden
After pouring the soap into the mold, let it cool and harden completely before removing it from the mold. This can take anywhere from a few hours to overnight, depending on the size and shape of your soap.
Conclusion
Molding melt and pour soap base can be a bit tricky, but with the right tools and techniques, you can create beautiful, handmade soaps with ease. By choosing the right mold, preparing it properly, melting the soap base slowly, adding color and fragrance carefully, pouring with care, and letting the soap cool and harden completely, you can create stunning soaps that are perfect for personal use or as gifts. With a little practice and experimentation, you'll be a pro at molding melt and pour soap base in no time.