
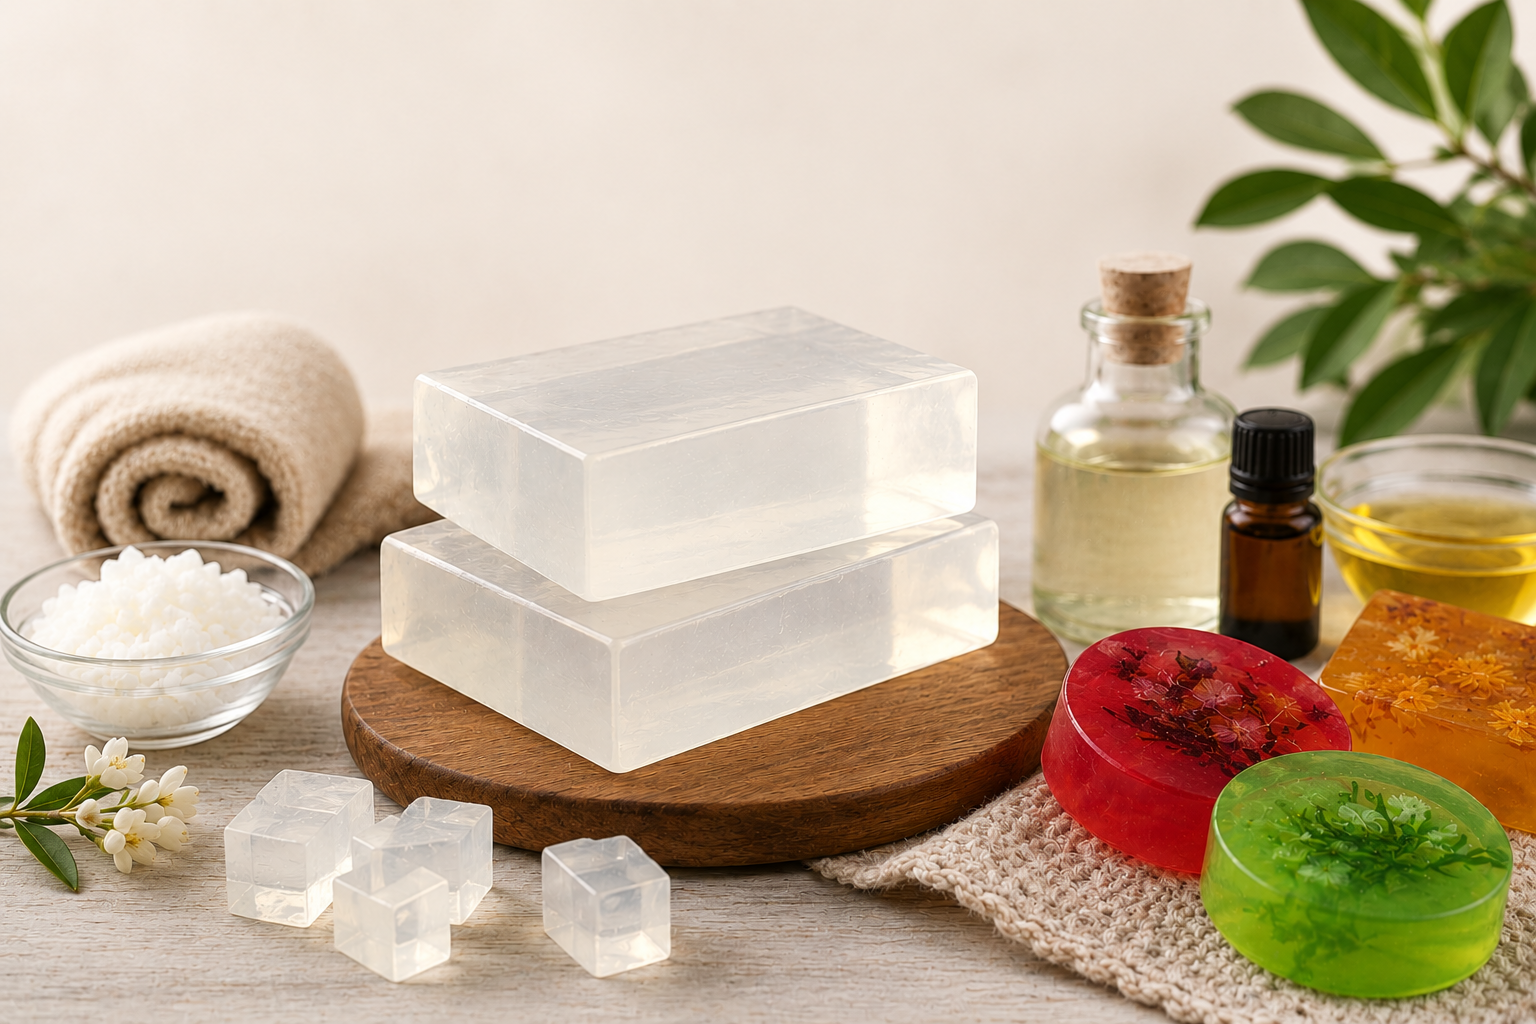
Transparent soaps have become extremely popular in the handmade skincare industry because of their clean appearance, glossy texture, and premium feel. Unlike regular opaque soaps, transparent soap bars instantly look more attractive and creative, especially when combined with soft colors, dried flowers, herbal ingredients, or layered designs.
Many beginners are naturally drawn towards transparent soap making because the process is simple, enjoyable, and highly creative. You do not need complicated equipment or professional soap-making knowledge to start. With a good quality transparent soap base and a few basic ingredients, even first-time soap makers can create beautiful handmade soaps at home.
One of the biggest advantages of transparent soap making is the freedom to experiment with designs. Whether you want to create floral soaps, herbal soaps, luxury gifting bars, or minimal wellness-style soaps, transparent soap bases provide endless possibilities.
In recent years, transparent soaps have also become highly popular among small handmade skincare brands because customers are naturally attracted to soaps that look elegant and visually unique. A clean crystal-clear soap bar with balanced fragrance and soft botanical detailing often feels far more premium than ordinary soaps available in the market.
Why Transparent Soaps Are So Popular
Most people first notice how a soap looks before checking its ingredients or fragrance. Transparent soaps instantly create a cleaner, fresher, and more luxurious impression because of their glossy finish and decorative appearance.
They are especially popular for:
- Handmade skincare collections
- Luxury gifting
- Herbal soap ranges
- Boutique wellness brands
- Decorative soaps
- Customized soap hampers
Another reason for their popularity is that transparent soaps work beautifully with colors and embedded ingredients. Simple additions like dried rose petals, lavender buds, or soft pastel shades can completely change the appearance of the soap and make it feel professionally designed.
Transparent soaps also allow beginners to explore creativity without dealing with complicated soap-making techniques.
Understanding Transparent Soap Bases
Transparent soaps are usually made using melt and pour transparent soap bases. These bases are already prepared with soap-making ingredients, so beginners only need to melt, customize, and pour them into molds.
This is one of the easiest soap-making methods because it removes the complexity of creating soap completely from scratch. Since the soap base is already processed, beginners can focus more on fragrance blending, colors, layering, and decorative techniques.
A good transparent soap base usually provides:
- Better clarity
- Smooth texture
- Easy melting
- Faster setting
- Cleaner finish
- Better fragrance retention
The quality of the soap base plays a major role in the final appearance of the soap. Poor-quality bases often become cloudy, rough, or excessively sweaty after setting.

Ingredients Required for Transparent Soap Making
Transparent soap making becomes much easier when you use simple but good-quality ingredients. Most beginner soap makers start with a basic recipe and slowly experiment with fragrances, herbs, and designs over time.
The main ingredient is obviously the transparent soap base itself. Apart from that, fragrance oils, essential oils, soap colors, and decorative ingredients are commonly used to customize the soap.
Fragrance oils are important because they create the overall experience of using the soap. Floral fragrances like lavender and rose create a soft luxury feel, while citrus and peppermint fragrances make soaps feel refreshing and energizing. Warm fragrances like vanilla, sandalwood, and coffee are often preferred for premium wellness-style soap collections.
For coloring, most beginners use liquid soap colors or mica powders because they blend easily without affecting the soap texture too much. Soft and balanced shades usually work better than extremely bright colors, especially if you want the soaps to look elegant and premium.
Decorative ingredients such as:
- dried flowers
- lavender buds
- herbs
- oatmeal
- shimmer powders
- small soap embeds
are also commonly added to improve the visual appeal of transparent soaps. However, keeping the design clean and balanced usually creates a more professional appearance.

Basic Tools Needed for Beginners
One of the best things about transparent soap making is that you do not need expensive equipment to start. Most tools are simple and easily available.
Beginners usually require:
- silicone soap molds
- microwave-safe containers
- a spatula for mixing
- measuring cups
- a knife for cutting soap base
- a spray bottle with rubbing alcohol
Silicone molds are highly recommended because they make demolding easier and help maintain cleaner soap edges. Similarly, rubbing alcohol is often used to remove air bubbles from the soap surface and create a smoother finish.
Working in a clean and dry environment also helps improve the overall quality of handmade soaps.
Step-by-Step Process to Make Transparent Soap at Home
Making transparent soap at home is much easier than most beginners expect. Once you understand the basic process, it becomes a fun and creative activity where you can experiment with fragrances, colors, and different soap designs. The key is to work slowly and avoid rushing, especially while melting and pouring the soap base.
Step 1: Cut the Transparent Soap Base into Small Pieces
Start by cutting the transparent soap base into small cubes using a clean knife. Smaller pieces melt faster and more evenly, which helps maintain the clarity and smooth texture of the soap.
Large chunks often melt unevenly and may create overheating in certain areas, so taking a few extra minutes to cut the base properly usually gives better results.
Step 2: Melt the Soap Base Gently
Place the soap base cubes into a microwave-safe container or double boiler and begin heating slowly. Gentle melting is extremely important because excessive heat can reduce transparency and create unnecessary bubbles inside the soap.
If using a microwave, heat the soap in short intervals while stirring lightly between each round. Avoid boiling the soap base, as overheating can affect both the appearance and texture of the final soap bar.
A smooth and fully melted soap base should look glossy and clear without excessive foam.
Step 3: Add Fragrance Oils Carefully
Once the soap base has melted completely, add your preferred fragrance oil or essential oil. This is the stage where the soap starts developing its personality and overall experience.
Floral fragrances like lavender and rose usually create a soft luxury feel, while citrus or peppermint fragrances make the soap feel fresh and energizing.
It is always better to use balanced fragrance quantities instead of adding too much oil. Overloading fragrance can sometimes affect soap clarity and texture.
Mix the fragrance gently to avoid trapping excess air bubbles inside the soap mixture.
Step 4: Add Colors & Decorative Ingredients
Now you can customize the appearance of the soap by adding soap-safe colors, herbs, dried petals, shimmer powders, or other decorative ingredients.
Transparent soaps usually look more elegant when the design remains clean and minimal. Soft pastel shades, botanical elements, and subtle decorative details often create a more premium handmade appearance compared to overly bright or crowded designs.
If you are experimenting with multiple colors, work slowly so the colors blend smoothly without becoming muddy.
Step 5: Pour the Soap into Molds
Carefully pour the melted soap mixture into silicone molds. Pouring slowly helps reduce air bubbles and keeps the surface smoother.
Once poured, lightly tap the molds on the table to release any trapped bubbles. If small bubbles still appear on the surface, spray a little rubbing alcohol gently over the soap. This helps create a cleaner and more professional finish.
Silicone molds are highly recommended for beginners because they make demolding easier and help maintain sharp soap edges.
Step 6: Allow the Soap to Cool & Set Properly
After pouring, leave the soaps undisturbed until they harden completely. Most transparent soaps take a few hours to set depending on room temperature and soap thickness.
Avoid touching or moving the molds too early because this can disturb the design and create uneven surfaces.
Slow natural cooling usually helps maintain better transparency and smoother texture.
Step 7: Remove the Soap from the Molds
Once the soaps are fully hardened, gently remove them from the molds. Transparent soaps often look best when handled carefully because scratches and fingerprints may become more visible on clear surfaces.
At this stage, the soaps are ready for packaging, gifting, personal use, or further decoration.
Proper wrapping is important because transparent soaps can attract moisture from humid environments. Airtight packaging helps maintain fragrance, appearance, and clarity for a longer time.

Common Problems Beginners Face During Transparent Soap Making
Almost every beginner experiences small issues while learning soap making. Fortunately, most of these problems are easy to fix once you understand the reasons behind them.
One of the most common issues is cloudy soap. This usually happens because the soap base was overheated or because too many additives were mixed into the soap.
Another common problem is soap sweating. Transparent soaps often contain glycerin, which naturally attracts moisture from humid environments. This can create tiny water droplets on the soap surface. Proper wrapping and storage usually help reduce this issue.
Some beginners also add excessive fragrance oil hoping for a stronger scent. However, too much fragrance can affect soap texture and reduce clarity. Balanced fragrance levels usually create better-quality soaps.
Overdecorating is another mistake many beginners make. Adding too many herbs, petals, or glitter elements can make soaps look messy instead of luxurious. Clean and minimal designs often look far more premium.
Tips to Make Transparent Soaps Look More Premium
Small details often make a huge difference in handmade soap presentation. Many luxury-looking soaps actually use very simple techniques with proper balance and finishing.
Using soft earthy tones instead of extremely bright colors usually creates a more elegant appearance. Similarly, matching the fragrance with the color theme improves the overall experience. For example:
- lavender soaps with soft purple shades
- rose soaps with blush pink tones
- coffee soaps with warm brown palettes
often look more visually balanced.
Good molds also improve the final appearance significantly. Clean edges and smooth surfaces automatically make soaps feel more professional.
Minimal decoration is another important factor. A few dried petals or subtle shimmer details often look far more luxurious than overcrowded designs.
Packaging also matters a lot. Even simple transparent soaps can look premium when packed neatly with clean labels and minimal branding.
Can Transparent Handmade Soaps Be Sold?
Yes, transparent handmade soaps are highly popular in both the skincare and gifting market. Their attractive appearance makes them ideal for:
- boutique skincare brands
- wellness collections
- festive gifting
- customized hampers
- luxury handmade soap businesses
Many small soap businesses start with transparent melt and pour soaps because they are beginner-friendly while still looking professional and premium.
Once you become comfortable with basic soap making, you can experiment with layered soaps, embedded designs, botanical soaps, and luxury fragrance combinations to create more unique collections.
Frequently Asked Questions
Why Does My Transparent Soap Become Cloudy?
Cloudiness usually happens due to overheating, excessive additives, or aggressive mixing during the melting process.
Is Transparent Soap Making Beginner-Friendly?
Yes, transparent melt and pour soap making is considered one of the easiest methods for beginners.
Why Does Transparent Soap Sweat?
Transparent soaps contain glycerin, which attracts moisture from humid environments.
Can I Add Herbs & Flowers to Transparent Soap?
Yes, dried flowers, herbs, and botanical ingredients are commonly used in decorative transparent soaps.
How Long Do Transparent Handmade Soaps Last?
Most transparent soaps last around 12 to 24 months depending on ingredients and storage conditions.
Conclusion
Transparent soap making is one of the easiest and most creative ways to begin your handmade soap-making journey. The glossy finish, crystal-clear appearance, and endless design possibilities make transparent soaps highly attractive for both personal use and small skincare businesses.
Whether you prefer minimal botanical soaps, colorful layered designs, or elegant luxury-style soap bars, transparent soap bases provide excellent flexibility for experimentation and creativity.
With proper ingredients, balanced fragrances, clean designs, and gentle handling, even beginners can create beautiful transparent soaps that look professional, feel luxurious, and leave a lasting impression.